Introduction
Recreational vehicles (RVs) have become synonymous with adventure and travel, providing a home on wheels for those seeking the open road. While the interior of an RV is designed to maximize space efficiency, the kitchen is often a focal point for both practicality and comfort. One essential component of the RV kitchen is the sink faucet, and over time, replacing it can be a necessary upgrade for improved functionality and style. In this comprehensive guide, we will delve into the world of RV kitchen sink faucet replacement, exploring the reasons for replacement, step-by-step installation procedures, popular faucet options, and tips for maintenance.
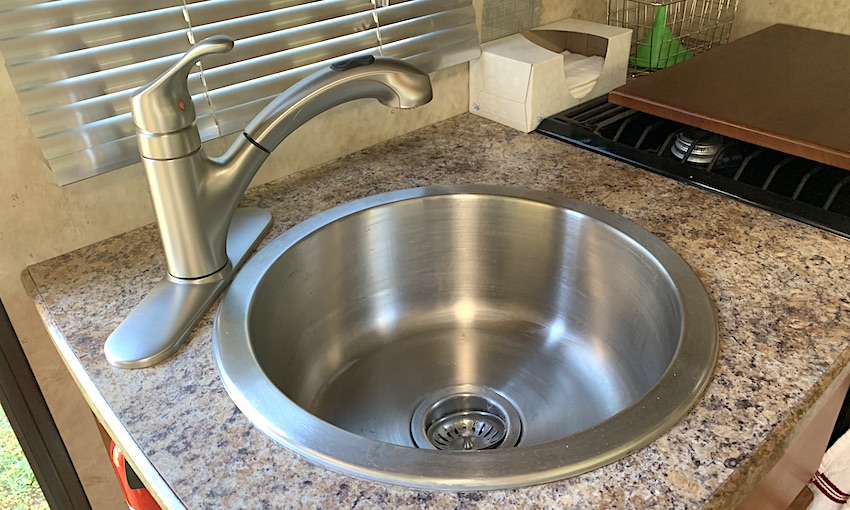
What is RV Kitchen Sink Faucet?
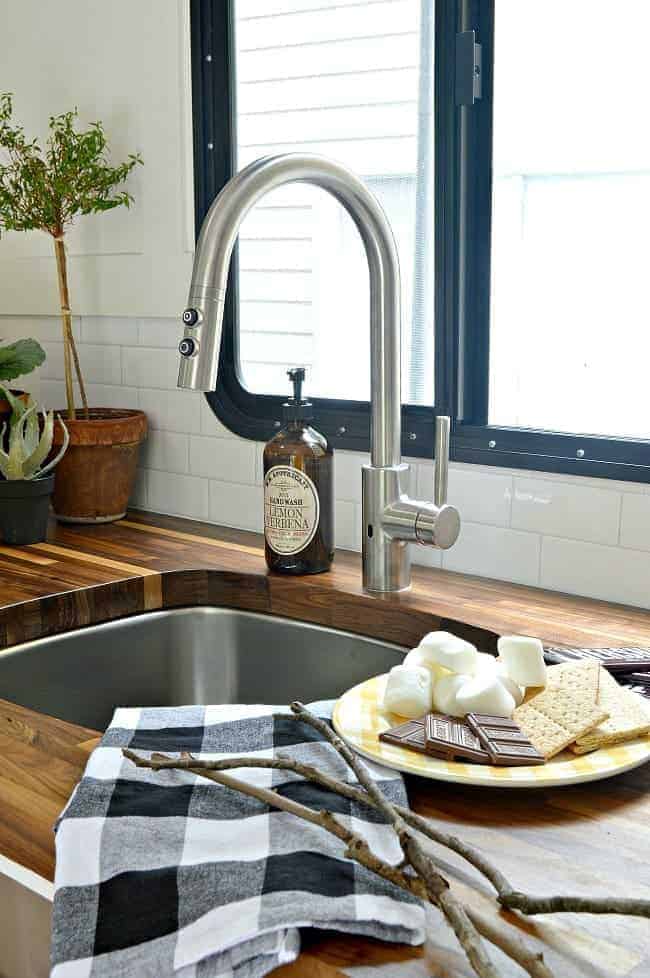
An RV kitchen sink faucet is a specialized fixture designed for use in recreational vehicles. Compact and efficient, it is tailored to the spatial constraints of RV kitchens. These faucets often feature durable materials, various styles, and functional designs, offering a convenient and aesthetically pleasing water source for cooking and cleaning within the limited space of an RV.
Signs it’s Time for a Replacement
Before embarking on the replacement process, it’s crucial to identify signs that your RV kitchen sink faucet is due for an upgrade. Some common indicators include:
- Leakage: Persistent leaks or dripping can be a clear sign of wear and tear, compromising the faucet’s efficiency and potentially leading to water damage in the RV.
- Corrosion and Rust: Over time, exposure to water and various environmental factors can cause corrosion and rust, affecting both the aesthetics and functionality of the faucet.
- Reduced Water Pressure: A noticeable decrease in water pressure may indicate mineral buildup or internal damage, hindering the faucet’s performance.
- Outdated Design: If your RV’s interior has undergone a makeover, an outdated faucet might not align with the new aesthetic, making a replacement an attractive option.
Choosing the Right Faucet
Once you’ve decided to replace your RV kitchen sink faucet, the next step is selecting the right one. Consider the following factors:
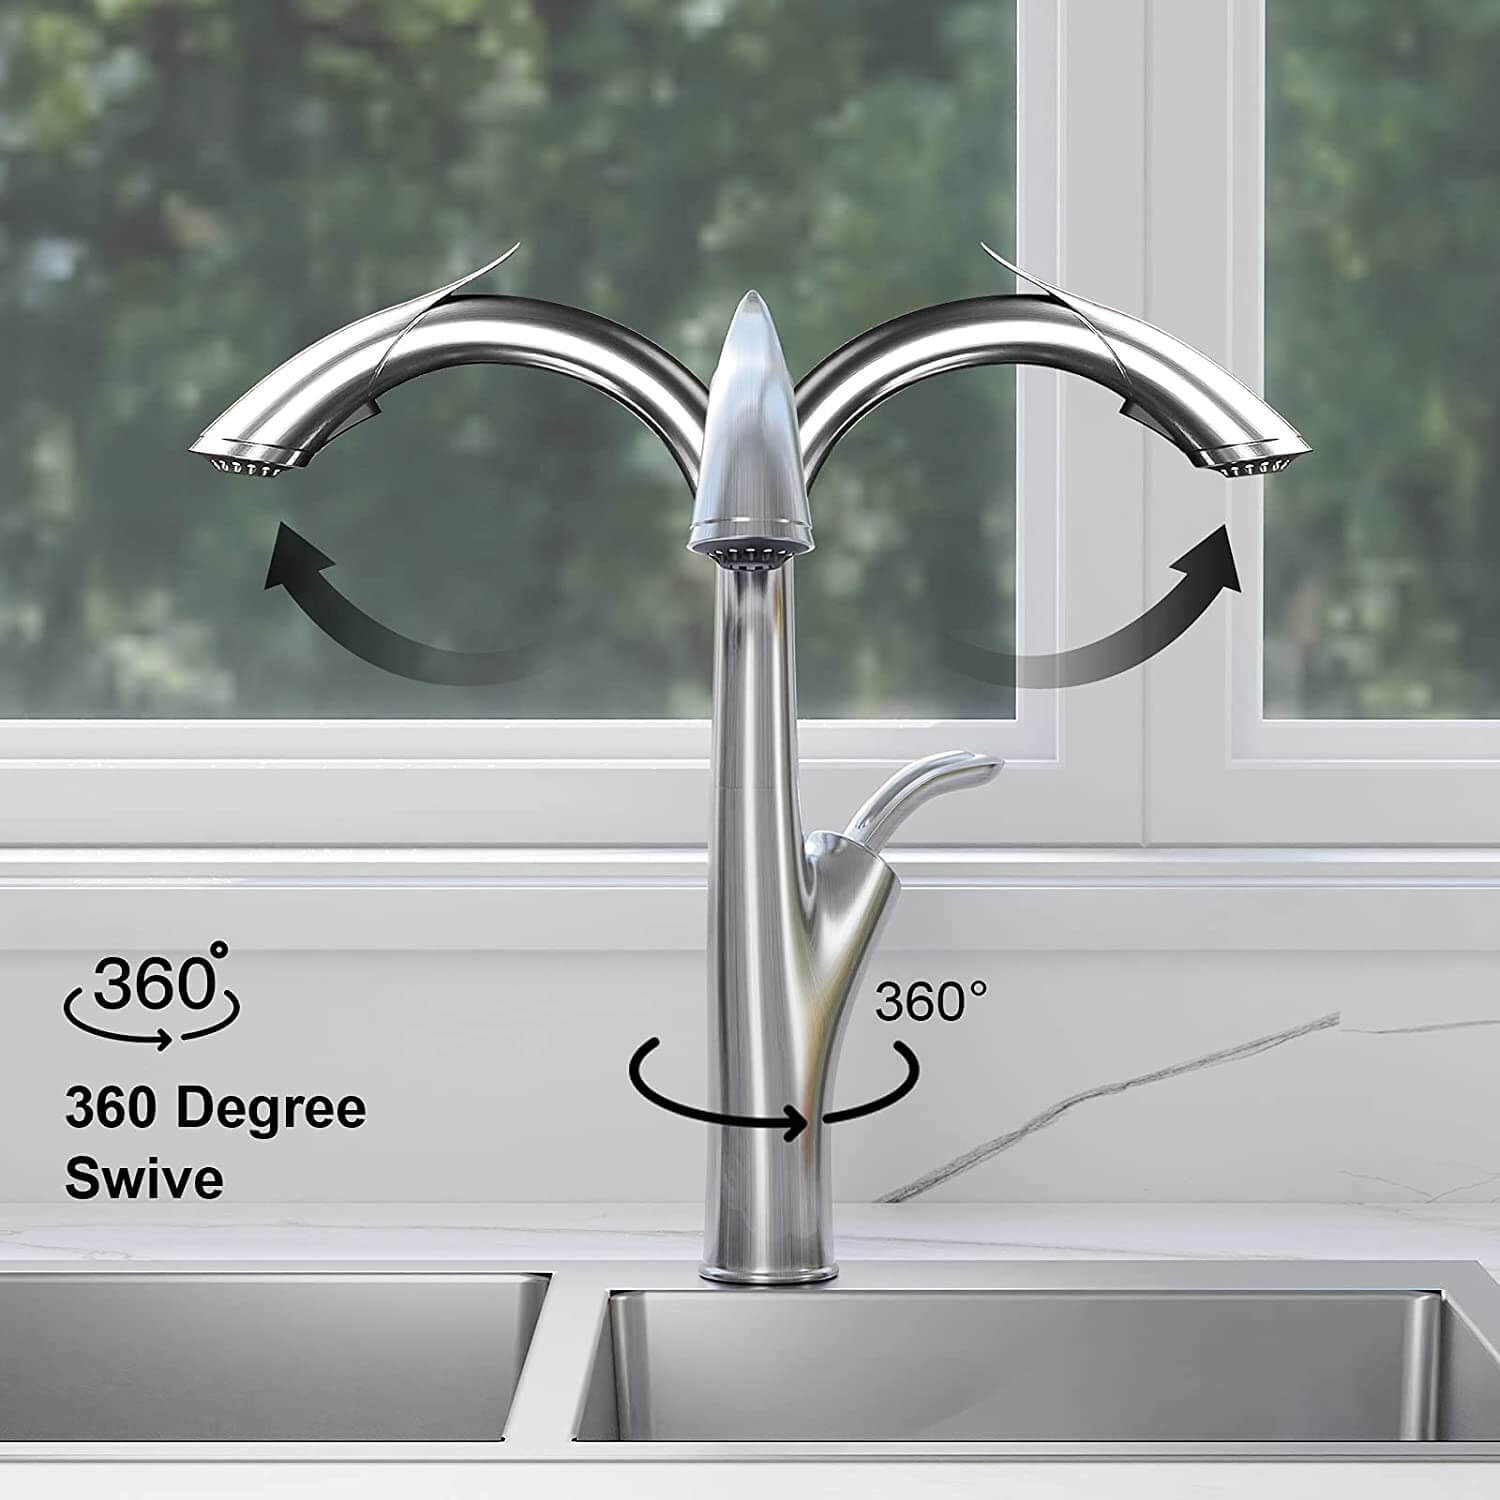
- Faucet Type: RV faucets come in various types, including single-handle, double-handle, pull-out, and pull-down faucets. Choose a type that suits your preferences and space constraints.
- Material: Opt for materials such as stainless steel or brushed nickel for durability and resistance to corrosion. These materials are not only long-lasting but also complement the interior of most RV kitchens.
- Style and Design: RV faucets are available in a range of styles, from modern and sleek to classic and traditional. Select a design that complements the overall aesthetic of your RV interior.
- Installation Compatibility: Ensure that the chosen faucet is compatible with your RV’s plumbing system. Some faucets may require additional components for proper installation.
Step-by-Step Replacement Guide
Now that you’ve chosen the perfect faucet for your RV kitchen sink, let’s walk through the step-by-step replacement process:
Gather Necessary Tools:
Adjustable wrench
Plumber’s tape
Bucket or towels (to catch any water)
Pipe cutter or hacksaw (if needed)
Turn off Water Supply:
Locate the water supply valves under the sink.
Turn off both hot and cold water supplies.
Drain the Faucet:
Open the faucet to drain any remaining water in the lines.
Disconnect Water Lines:
Use the adjustable wrench to disconnect the water lines from the existing faucet.
Remove Old Faucet:
Loosen and remove the nuts securing the faucet to the sink.
Lift the old faucet out and clean the sink surface
Apply Plumber’s Tape:
Wrap plumber’s tape around the threads of the new faucet’s connections to ensure a secure and leak-free fit.
Install New Faucet:
Insert the new faucet into the mounting holes on the sink.
Secure the faucet in place with the provided nuts.
Connect Water Lines:
Connect the hot and cold water lines to the corresponding connections on the new faucet.
Tighten Connections:
Use the adjustable wrench to tighten all connections securely.
Test for Leaks:
Turn on the water supply and check for any leaks.
Fix any leaks by tightening connections or adding more plumber’s tape as needed.
Flush the System:
Run water through the faucet for a few minutes to flush out any air or debris in the lines.
Popular RV Faucet Options:
Now that you’re familiar with the replacement process, let’s explore some popular RV kitchen sink faucets:
Moen 67315C Integra One-Handle Pullout Kitchen or Laundry Faucet
This is the Moen kitchen faucet we use in our RV, so we can endorse this faucet personally a high quality option for you. The faucet has a chrome finish and is highly reflective. It is so shiny that it can act like a mirror if you want it to. It also uses power clean spray technology to provide 50 percent more spray power compared to other faucets that do not use this technology.
Additionally, the faucet has a flexible to design that is easily installed through 1 or 3 holes. It features a Duralock quick connect system to make installation even easier. Furthermore, the faucet pulldown hose offers flexible water delivery and the hose retracts with ease.
Finally, the kitchen sink faucet is backed by Moen’s limited lifetime warranty. So, if you have any issues you can have the faucet replaced.
Arcora Commercial Single Handle Kitchen Sink Faucet with Pull Down Sprayer
If you are looking for a replacement for your RV kitchen sink faucet, this faucet from ARCORA is a good option for you. It has a sleek design that is easy to match with any sink. Additionally, it has 3 way spray settings, stream, spray. Stream is for filling the sink with water, spray is for rinsing, and pause is for avoiding splashing when you are in multitask mode.
Additionally, the sink is easy to install. The pull down hose and water line hose are already preinstalled in the kitchen faucet to save you time on the installation process. You do not need a plumber to get things installed, you just need to spend 30 minutes getting it installed.
Furthermore, the sink is easy to operate and has single handle control over water temperature. It is also easy to maintain as it has a superior corrosion and rust resistant finish to stop dirt from sticking to the surface.
Maintenance Tips for RV Faucets:
To ensure the longevity and optimal performance of your new RV kitchen sink faucet, follow these maintenance tips:
Regular Cleaning:
Clean the kitchen sink faucet faucet regularly with a mild soap and water solution to prevent the buildup of grime and mineral deposits.
Check for Leaks:
Periodically inspect the faucet and connections for any signs of leaks. Address any issues promptly to avoid water damage.
Prevent Hard Water Damage:
If you’re camping in areas with hard water, consider using a water softener to reduce mineral buildup in the faucet and plumbing.
Avoid Harsh Cleaners:
Refrain from using abrasive or harsh chemical cleaners, as they can damage the faucet’s finish. Stick to mild cleaning solutions.
Secure Fittings:
Periodically check and tighten fittings to ensure a secure connection and prevent leaks.
Conclusion:
Upgrading the kitchen sink faucet in your RV is a rewarding endeavor that can enhance both the functionality and aesthetic appeal of your mobile home. By recognizing the signs of faucet wear, choosing the right replacement, and following a systematic installation process, you can enjoy the benefits of a modern and efficient kitchen space on your travels. Regular maintenance will further ensure the longevity of your new kitchen sink faucet, allowing you to focus on the joy of the open road without worrying about kitchen fixtures. Safe travels and happy cooking in your upgraded RV kitchen!