Comprehensive Guide to Single Handle Shower Faucet Repair

A well-functioning shower faucet is a crucial component of any modern bathroom. The convenience and comfort it provides can be easily taken for granted, until the moment it starts malfunctioning. One of the common issues homeowners encounter is a faulty single handle shower faucet. Fortunately, repairing a single handle shower faucet doesn’t always require calling a plumber. With a bit of know-how and some basic tools, you can often tackle the repair yourself. In this comprehensive guide, we will walk you through the step-by-step process of single handle shower faucet repair.
Understanding the Basics
Before delving into the single handle shower faucet repair process, it’s essential to understand the basic components of a single handle shower faucet. This knowledge will aid in diagnosing the issue and carrying out the necessary repairs effectively. A typical single handle shower faucet comprises several key parts:
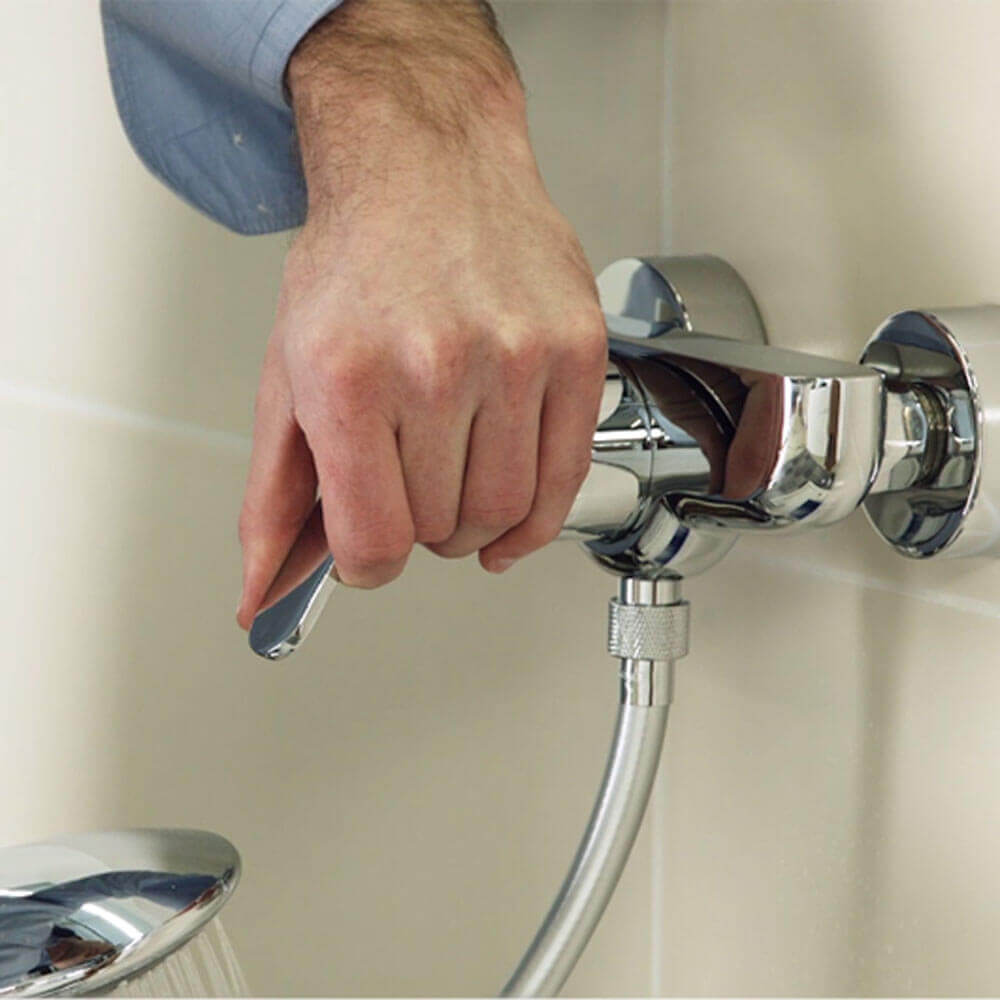
Handle: The lever or knob you turn to control the water flow and temperature.
Cartridge or Valve: This is the heart of the faucet. It regulates the flow of hot and cold water and controls the mixing to achieve the desired temperature.
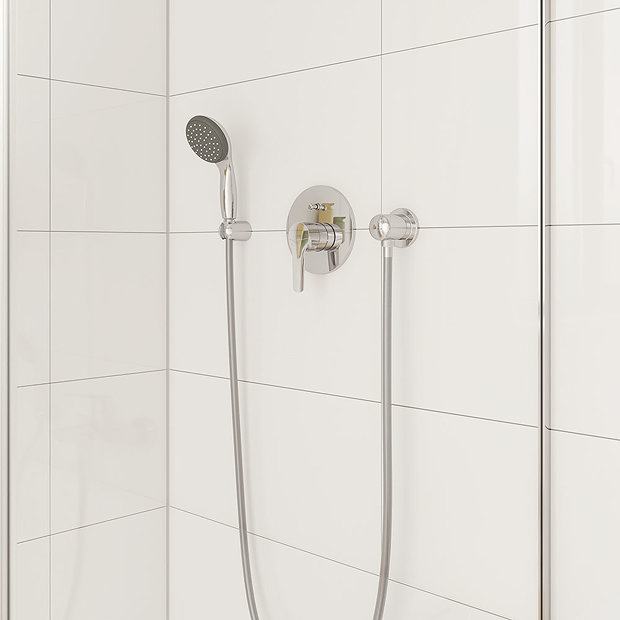
Escutcheon Plate: The decorative plate that covers the hole in the wall where the faucet is installed.
Trim Plate: This plate surrounds the handle and can usually be removed for access to the cartridge.
Cartridge Retaining Nut: This nut holds the cartridge or valve in place.
O-rings and Seals: These prevent water from leaking around the cartridge and other components.
Water Inlets: The pipes that supply hot and cold water to the faucet.
Now that you’re familiar with the components, let’s move on to the repair process.
Step-by-Step Single Handle Shower Faucet Repair Guide
Step 1: Gather Your Tools
Before you begin the repair, ensure you have the necessary tools on hand:
- Adjustable wrench
- Screwdrivers (Phillips and flathead)
- Allen wrenches
- Plumber’s tape
- Replacement cartridge or necessary parts
- Towels or rags
Step 2: Turn Off Water Supply
Safety is paramount. Turn off the water supply to the shower. This is usually done by shutting off the water valves located near the shower, either in the bathroom or main water supply area.
Step 3: Remove the Handle
Use a screwdriver to remove the handle’s screw, which is often located under a decorative cap or cover. Once the screw is removed, gently pull the handle off.
Step 4: Access the Cartridge
Depending on your faucet’s design, you might need to remove the trim plate or escutcheon plate to access the cartridge. This may involve removing screws or using an Allen wrench.
Step 5: Remove the Cartridge
Once you’ve gained access to the cartridge, use an adjustable wrench to carefully remove the cartridge retaining nut. With the nut removed, you can pull out the cartridge. Take note of how the cartridge is positioned before removal; this will help you install the replacement correctly.
Step 6: Inspect and Replace Parts
Examine the removed cartridge for any signs of damage, wear, or mineral buildup. O-rings and seals are common culprits for leaks, so check them closely. If any components are worn or damaged, it’s advisable to replace the entire cartridge. Ensure you have a replacement cartridge that matches the make and model of your faucet.
Step 7: Install the New Cartridge
Insert the replacement cartridge in the same orientation as the old one. Secure it in place with the cartridge retaining nut and tighten using an adjustable wrench. Be cautious not to overtighten, as this could damage the cartridge or the faucet body.
Step 8: Reassemble
Carefully follow the reverse steps to put everything back together. Reattach the trim plate or escutcheon plate, slide the handle back onto the cartridge stem, and secure it with the handle screw. Place any decorative caps or covers back in position.
Step 9: Turn On Water Supply
With everything reassembled, turn the water supply back on. Slowly turn on the faucet and test the water flow and temperature. Check for leaks around the handle and cartridge. If you notice any leaks, tighten the cartridge retaining nut slightly.
Step 10: Apply Plumber’s Tape (Optional)
If you experience any minor leaks around threaded connections, applying plumber’s tape to the threads can help create a tighter seal and prevent leaks.
Prevention Tips
Preventive maintenance can extend the life of your shower faucet and reduce the frequency of repairs:
- Regularly clean the faucet to prevent mineral buildup.
- Address minor leaks promptly to avoid more significant issues.
- Avoid using excessive force when turning the handle, as it can damage the cartridge.
When to Call a Professional
While many single handle shower faucet repairs can be tackled by homeowners, there are instances where it’s best to call a professional plumber:
- If you’re unsure about any step of the repair process.
- If the faucet is still leaking after attempting the repair.
- If you encounter unexpected complications or challenges.
In Conclusion
Repairing a single handle shower faucet might seem like a daunting task, but with the right tools, a bit of patience, and a systematic approach, it’s a task that many homeowners can successfully accomplish. By following the steps outlined in this guide, you can save money on plumber bills and enjoy a fully functioning shower once again. Remember, safety comes first, so if you’re ever uncomfortable or unsure about the single handle shower faucet repair, don’t hesitate to seek professional assistance.
 ARCORA FAUCETS

