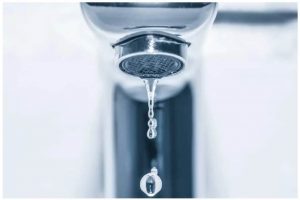
Delta Faucet Still Leaks After Replacing The Cartridge
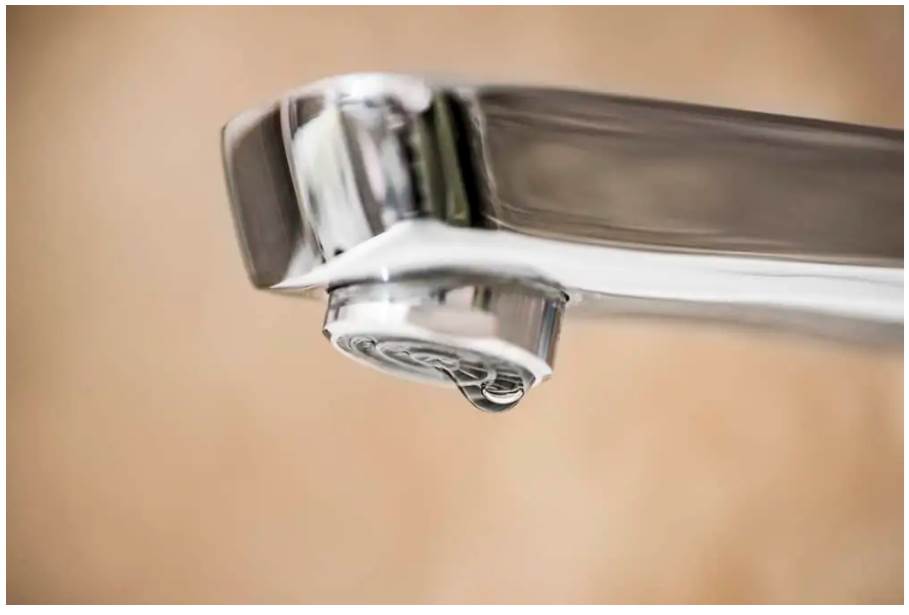
If your Delta faucet is leaking, it can be incredibly aggravating. Especially if you’ve spent a lot of time fixing the leaky faucet and replacing the faucet core, only to find that it’s still leaking. The constant dripping simply won’t stop, and it’s frustrating.
Here’s the painful part. The leak is probably not due to a faulty cartridge. Now, this isn’t to say that you’re wasting your time on replacing a leaking faucet cartridge. It’s just saying that you have a little troubleshooting to do inside the pipes of your faucet.
Why Does My Delta Faucet Keep Dripping?
Your Delta faucet may be dripping due to a series of problems. To determine why it’s leaking, you’ll need to isolate the leak. It could be caused by a faulty part inside the faucet, such as a rubber seat, O-ring, or spring. You will most likely need to replace the part to fix the leak.
How Do I Stop My Delta Faucet From Leaking?
The first step in determining a leak is to identify the type of faucet you have, whether it is a showerhead, bathtub faucet, or kitchen faucet. Since you’ve already replaced the cartridge, you can say you’ve already determined this.
Next, you need to figure out where the leak is coming from. If it’s leaking under the faucet, then the cartridge may already be faulty. Considering that it is still leaking, you may need to tighten the nuts that hold the cartridge unit itself in place.
If it appears to be leaking from the aerator (which is the part mounted at the end of the outlet), then the seat and spring may be your problem. The O-rings on the cartridge may be faulty or have built up hard water, so try cleaning those as well to see if that is the problem.
How To Fix A Leaking Aerator
What you’ll need.
- An adjustable wrench or mortise and tenon pliers
- An Allen wrench or screwdriver
- A replacement rubber seat and spring
- Replacement rod (if needed)
- Plumber’s grease
You can tell which side the leak is coming from by placing your hand under the drip of the faucet. If the water is warm, then the hot side of the faucet may be the problem. If the water is dripping cold, it’s the cold side you should be concerned about.
Before you go to town to remove your faucet, make sure you turn off the water supply so you don’t create a mess on your hands. If you are repairing one side of the faucet, you only need to turn off the side you are repairing.
Remember to check if the water is turned off on that side by opening the specific handle.
Start by removing the faucet handle with a screwdriver or allen wrench. Use a mortise and tenon pliers or an adjustable wrench to remove the cap nut that holds the faucet stem in place.
Before removing the stem, observe the original position of the stem, as you will need to reinstall it in the exact location, otherwise your faucet will not work properly. If necessary, you can use pliers to remove the stem.
Next, you will need to remove the valve seat and spring. You will need to pay attention to the orientation of the spring inside the seat, as you will need to install the replacement piece in the same manner. Install your replacement seat and spring.
Reinstall the valve stem and then install the cap nut, making sure to tighten it carefully. Before replacing the handle, check to see if there is still a leakage problem. If it is still leaking, carefully tighten the cap nut until it stops leaking. Do not over-tighten.
Reinstall the handle onto the stem, secure it with screws, and you’re done with the faucet repair and ready to go!
Viking Refrigerator Repair Chicago can provide you with quality Viking HVAC repair services.
https://www.vikingrefrigeratorrepairs.com/viking-hvac-repair-chicago.php