
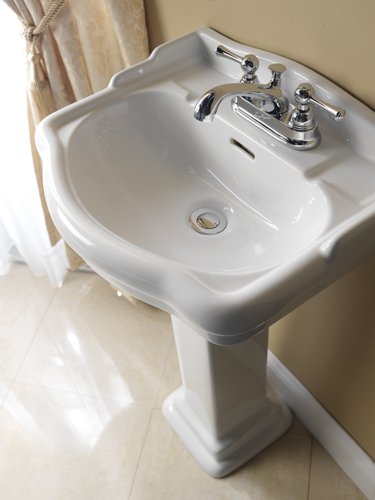
Pedestal sinks are a popular choice for bathrooms where space is limited. Unlike traditional sink and cabinet setups, pedestal sinks are freestanding and take up less space. However, while you do save space, you lose the storage area you get at the vanity.
In any case, pedestal sinks provide a sophisticated accent to the space, allowing you to maximize the area without feeling cluttered or crowded. Fixing a pedestal sink looks different from a typical vanity, so without further ado, let’s take a look at how to fix a pedestal sink to the wall.
How To Fix A Pedestal Sink
When you buy a new pedestal sink, it should come with some installation instructions. However, sometimes these guides are completely confusing and impossible to follow, which can be very frustrating.
So, we’re going to give you a quick idea for installing and stabilizing your pedestal sink with and without studs. If the sink doesn’t line up with the frame of your bathroom, skip to the next section.
Remember to turn off the water before making any repairs to the water supply line. If you are installing a new sink in a completely new location, consider having a plumber take care of the rough-in plumbing.
Installing A Pedestal Sink On A Post
This series of steps requires access to an aligned stud. You can use it as a wall anchor for your sink if you want to place it in line with the studs in your bathroom. Materials vary depending on the method, so read the instructions before you begin.
Prep The Area
Using the stud locator, find the studs where you want to anchor the sink. Mark the necessary height of the sink, then cut a hole in the wall at the height of the sink, from stud to stud. If you have a tiled wall, you will need to remove the tile or cut through it with an angle grinder.
Cut a piece of 2×8 board so that it fits snugly between the studs, then secure the bracket with angle screws. Patch the area with a piece of drywall cut to size and a layer of adhesive. Sand the surface until it is smooth, and paint the area if necessary.
Mounting Brackets
Refer to the manufacturer’s instructions to determine the proper height of the mounting bracket and then screw the 2 x 8 plate into the wall. Make sure the bracket is level before installing it.
If the sink does not come with a bracket, you can use hanger bolts. Assemble the sink and basin on top of the pedestal. Have a helper lean it against the wall (these sinks can be heavy). Mark the necessary anchor holes in the wall, then disassemble the sink and move it out of the way.
Pre-drill holes at the markings and install hanger bolts in the wall so they protrude about 1 inch from the wall.
Installing Drains, Traps and Faucets
Install the drains, traps and faucets you selected. Follow the instructions for each product for installation.
Installing the Sink
Next, install the sink. Carefully move the sink to a position near the wall. Attach the basin to the mounting brackets. Or, if you are using hanger bolts, line up the mounting holes with the bolts and push the sink firmly against the wall so that the bolts go through the mounting holes.
Check the level of the sink, then secure the sink with cap nuts and washers. Tighten first by hand, then by a wrench. After the sink is installed, connect the water pipe.
Secure The Base
Once the plumbing is attached, complete the sink installation by securing the base to the floor with the bolts or nuts provided. Make sure you do not over-tighten the bolts as you may crack the base.
Some pedestals do not require bolts, but rather caulk or grout around the base. Follow the manufacturer’s instructions for securing the base.
Installing A Pedestal Sink Without Bolts
If aligning a pedestal sink with the support studs is not possible, you can quickly secure the sink without the studs. Instead of using studs to support the sink, use elbow bolts. These use spring-loaded wings that expand once they are in place in the wall cavity. Once you tighten the studs, the wings will attach to the back of the wall.
Here’s what you’ll need.
- Pedestal sink and manufacturer’s instructions
- Pencil
- Silicone caulk
- Power drill
- Appropriately sized drill bit
- Masonry drill bit (if necessary)
- Toggle bolts
- Screwdriver or screw gun
- Rag
- Acetone
Align Sink, Mark Walls And Floor

First, align the sink with the area where you want to place the toggle bolts. You will need to hold the sink close to the wall and mark the location of the mounting holes for the bowl with a pencil.
If the sink requires floor bolts to secure the base to the floor, mark this time as well. Some sinks use grout or caulk to hold the base in place, so you don’t need to use anchor bolts.
Drill All Appropriate Holes
Next, drill the holes using the appropriate size drill bit. It should be large enough to accommodate a winged toggle, but not too wide or it will slide out easily. If the wall behind the sink is masonry, stucco, or covered with stone or tile, you will need to use a different drill bit to drill. A masonry drill bit should do the trick.
The holes needed to secure the base to the floor vary depending on the manufacturer, so please refer to the attached instructions for this section.
Preparation Of The Sink
Before setting the sink in place, install the elbow bolts on the back of the sink. Because the bolts must be long enough to open in the wall void, simply screw the winged toggle bolts in a few turns.
Once they are in place, apply a generous amount of silicone adhesive to the back of the sink. This will provide additional strength to the sink.
Installing The Sink
Align the base with the holes in the floor (if applicable). Install the base in place and then install the sink on top of the base. Slide the sink close enough to the wall to insert the toggle with wings into the mounting holes.
Make sure the toggle wing opens in the wall by pulling on the bolt head. It should not yield. Tighten the bolts with a screwdriver or screw gun, if necessary, until they are snug. Use a screwdriver to tighten the lag screws an additional half turn.
Finishing Touches
Using a clean rag dipped in acetone, scrape off any excess silicone that has oozed from the back of the sink. Apply caulk or grout around the base to hold it in place. If necessary, secure the base to the floor with anchor bolts according to the manufacturer’s instructions.
Complete the installation by connecting the plumbing and applying caulk to the joints between the wall and the sink.
Frequently Asked Questions (FAQ)
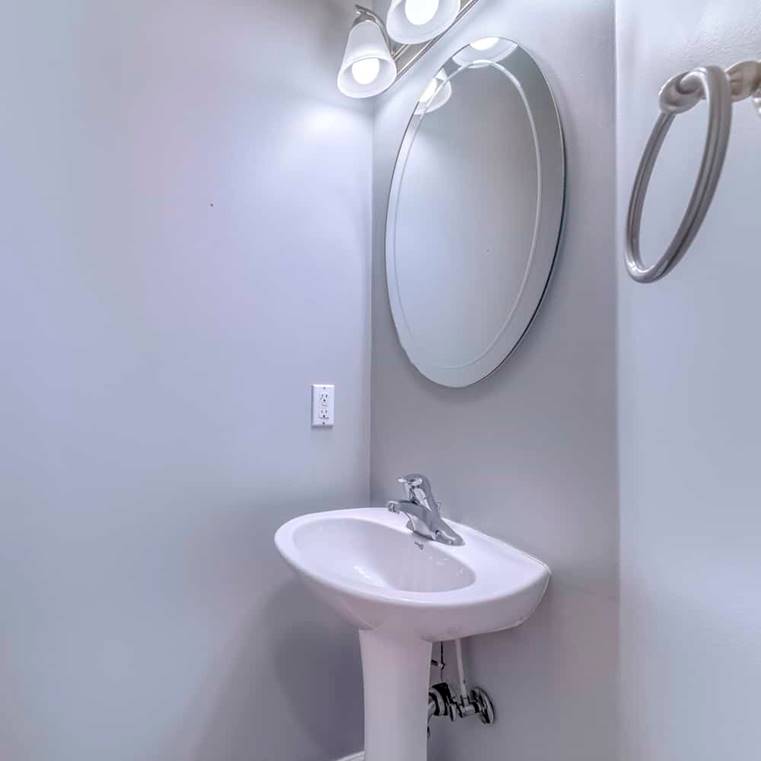
Square framed bathroom interior with wall sconce and oval mirror over a separate pedestal sink. Towel ring and toilet can also be seen inside this room.
Can You Glue A Vertical Sink To The Wall?
Technically, yes, you can. If you glue the sink to the drywall, it could be a nightmare to remove in the future. However, if the extra security sounds good, you can use glue. You should not use glue by itself to secure the sink to the wall.
Metal brackets provide additional support and are easy to use, and you can use the metal brackets alone or a combination of the two.
Do You Caulk Standing Sinks?
Yes, you should caulk the seated sink. It is important to caulk the bottom of the base and the back of the sink bowl where it meets the wall. Applying a liberal layer of caulk to these two areas will help prevent moisture from trapping behind the sink and allow mold and mildew to grow.
Caulking should not be used as the only form of fixing a sink. Instead, use it as a seal to keep water out of areas where it shouldn’t be. Silicone caulking is often the best choice for bathroom applications.