 ARCORA FAUCETS
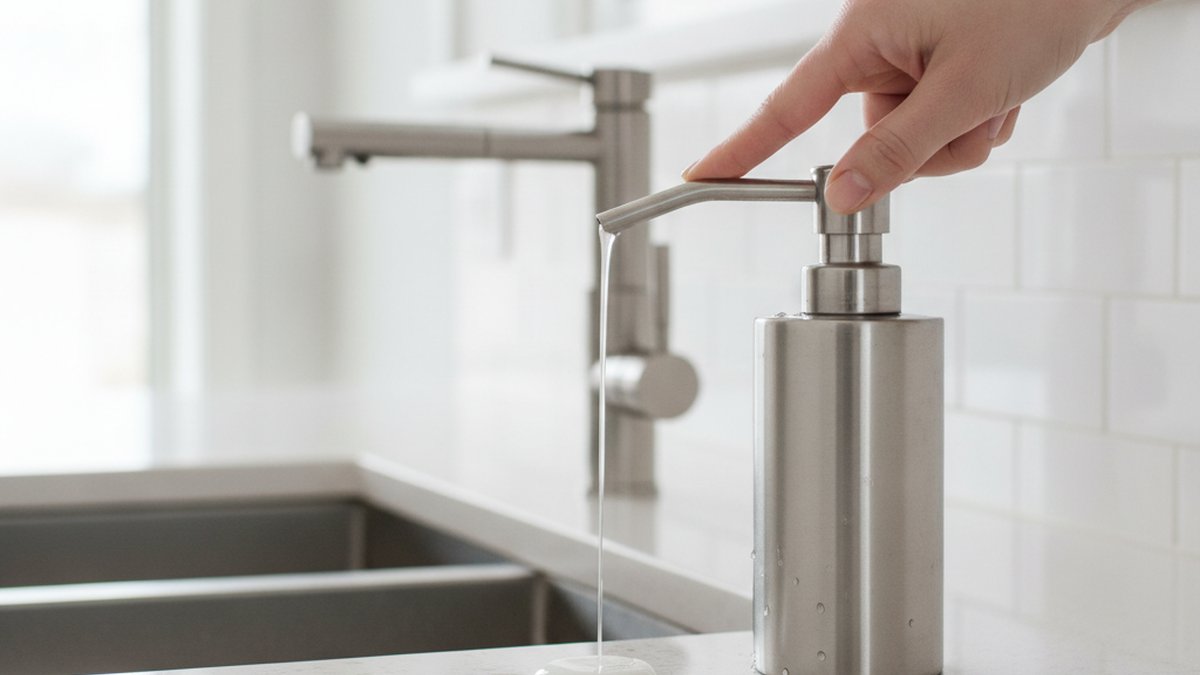
If your sink soap dispenser not working has you pressing a limp pump head that spits air, dribbles, or does nothing at all, don’t rip the whole thing out yet. In the overwhelming majority of cases the dispenser body built into your sink deck is fine — the problem is a trapped air pocket, dried soap gumming up the tube, or a worn pump mechanism you can replace on its own. Below we walk through exactly how to diagnose which one you’ve got, in the order a professional installer would check them, plus when it genuinely is time to replace the pump or upgrade to a better dispenser.
Why is my sink soap dispenser not pumping any soap at all?
If nothing comes out when you press the pump, it’s one of four things: the reservoir bottle is empty, the pump has lost its prime (air-locked), the pickup tube is clogged with dried soap, or the pump’s internal spring/piston has failed. Start from the cheapest fix and work down.
Here’s the practical order to check, because 90% of “dead” dispensers are solved in the first two steps:
- Check the bottle level from below. On a deck-mounted dispenser the reservoir sits under the counter — unscrew it and look. People refill from the top of the pump on some models but forget the under-sink bottle exists on others.
- Re-prime the pump. With soap in the bottle, press the pump head firmly and fully 15–20 times. A dispenser that’s been run dry or refilled needs to rebuild suction to pull liquid up the tube. This alone fixes most “suddenly stopped working” cases.
- Flush the tube and nozzle with warm water. Dried dish soap and hand soap crystallize into a plug. Fill the reservoir with hot (not boiling) water, pump repeatedly, and let it sit 10 minutes to dissolve the blockage.
- Inspect the pump head. If water flows but soap never did, or the pump feels loose and springless, the piston seal or return spring is worn out — replace the pump head.
The single most common mistake: refilling thick soap and expecting one press to work. Thick soap needs the pump primed, and it needs to be thin enough to travel the tube — more on that below.
Why does my soap dispenser pump air or feel loose and floppy?
A pump that sucks and puffs air but delivers no soap has lost its prime, or the pickup tube isn’t reaching the liquid. This is the classic “it worked yesterday” symptom.
Air-locking happens when the reservoir runs low or empty and the pump draws air instead of soap. The pump’s one-way valves can’t grab liquid until you rebuild the vacuum. To fix it:
- Top the reservoir up so the tube is fully submerged — don’t run it near-empty.
- Press the pump 15–20 times, slowly and completely. You’ll feel resistance return as it re-primes.
- If it still pumps air, unscrew the bottle and confirm the plastic pickup tube is still attached to the underside of the pump and long enough to reach the bottom. Tubes shrink, crack, or detach over time.
- A pump head that feels floppy with no spring-back has a failed internal spring — this part doesn’t recover, so replace the head.
How do you unclog a sink soap dispenser without taking it apart?
Run hot water through it. Dried soap is water-soluble, so a warm flush dissolves the clog in the tube and nozzle without any disassembly — this is the fix for a dispenser that pumps hard but only dribbles a thin thread or nothing.
Step by step:
- Empty the old soap out of the reservoir.
- Fill it with hot tap water (around 120°F — hot, not boiling, so you don’t warp plastic).
- Pump vigorously 20–30 times to push hot water through the whole path.
- Let it stand 10–15 minutes so the water dissolves hardened soap in the narrow nozzle channel.
- Pump again. If flow returns, empty the water and refill with properly diluted soap.
If warm water alone doesn’t clear it, add a tablespoon of white vinegar to the hot water — it cuts through the mineral-and-soap crust that builds up in hard water areas. If you’re battling hard water throughout the sink, the same buildup that clogs your dispenser is what dulls your faucet finish; our guide to the best hard water stain remover for taps covers safe descaling that won’t strip the coating. For a nozzle that’s still plugged solid, unscrew the pump head and soak just the head in warm vinegar water for 30 minutes, then poke the nozzle tip clear with a straightened paperclip.
What kind of soap should you actually put in a sink soap dispenser?
Use a thin-to-medium liquid soap, or dilute thick soap with water 3:1 (three parts soap to one part water). The single biggest cause of a “broken” dispenser is soap that’s too thick to climb the narrow pickup tube.
Built-in sink dispensers have thin tubes and small pump chambers designed for standard liquid hand or dish soap. Modern “ultra-concentrated” and foaming soaps are far too viscous — they clog the tube, strain the pump, and lead people to think the unit died. Here’s how common soap types behave:
| Soap type | Works in a standard dispenser? | Notes |
|---|---|---|
| Standard liquid dish soap | Yes | Ideal viscosity; the intended use. |
| Liquid hand soap | Yes | Works well; thinner than dish soap. |
| Concentrated / ultra dish soap | Only if diluted | Cut with water 3:1 or it clogs the tube. |
| Foaming soap | No | Needs a special foaming pump; will not foam and clogs standard ones. |
| Lotion / cream soap with beads | No | Particles jam the valve and nozzle. |
| DIY / natural soap with oils | Risky | Oils and separation gum up the pump over time. |
If you love a thick premium soap, decant it and thin it with a splash of water before refilling. It’s the difference between a dispenser that lasts years and one you’re “fixing” every month.
When should you replace the pump head vs. the whole dispenser?
Replace just the pump head (the part above the deck) if the body is intact but the pump won’t prime, feels springless, or leaks — a universal replacement pump costs about $8–$25 and screws in from the top in two minutes. Replace the whole unit only if the deck-mounted body is cracked or the mounting shank is corroded.
Most built-in dispensers use a standard threaded neck, so replacement pump heads are widely cross-compatible — you usually don’t need the exact brand. Measure the neck diameter and note whether it’s a screw-on or twist-lock collar before buying. Here’s how the repair choices compare:
| Symptom | Likely fix | Rough cost | Difficulty |
|---|---|---|---|
| Pumps air, won’t prime | Re-prime; top up reservoir | $0 | Very easy |
| Dribbles / weak flow | Hot water + vinegar flush | $0–$2 | Very easy |
| Loose, springless pump head | Replace pump head only | $8–$25 | Easy |
| Detached / cracked pickup tube | Replace tube or pump assembly | $8–$25 | Easy |
| Cracked body / corroded shank | Replace whole dispenser | $20–$60 | Moderate |
How do you replace a built-in sink soap dispenser step by step?
To replace a deck-mounted soap dispenser: unscrew the reservoir from below, loosen the mounting nut under the counter, lift the old unit out from the top, drop the new one in the same hole, hand-tighten the mounting nut, and screw the bottle back on. It takes about 10 minutes with no plumbing skills.
- Clear the cabinet under the sink so you can see and reach the dispenser’s underside.
- Unscrew the reservoir bottle (turn counterclockwise) and set it aside.
- Loosen the mounting nut on the threaded shank under the deck by hand or with slip-joint pliers.
- Lift the old dispenser out through the top of the sink/countertop hole.
- Insert the new dispenser from above into the same hole (standard hole is 1 to 1-3/8 inch).
- Thread the mounting nut back on underneath and snug it — don’t overtighten plastic threads.
- Attach the reservoir, fill with diluted soap, and prime with 15–20 pumps.
Because it uses the standard accessory hole in your sink deck, a soap dispenser installs almost identically to swapping other deck hardware — if you’ve done any small fixture job like learning how to change bathroom faucet knobs, this will feel familiar. And while you’re under the sink with the cabinet cleared, it’s a smart moment to glance at your water lines — a slow drip you catch now saves a warped cabinet floor later; our walkthrough on a kitchen sink supply line leaking shows what to look for.
Should you upgrade to a faucet with a built-in soap dispenser instead?
If your standalone dispenser keeps failing or you’re remodeling, a matched faucet-and-dispenser set is worth it: the finishes line up, the pump quality is usually better than a bargain add-on, and you get one warranty covering both. It’s the cleaner long-term answer for anyone tired of fixing a cheap dispenser.
The look matters too — a mismatched chrome dispenser next to a bronze or gold faucet stands out. Coordinated sets solve that. If you want the dispenser to disappear into the design, a brushed gold faucet with soap dispenser pairs a warm modern finish with a matched pump, and for a richer, traditional kitchen the kitchen faucet with soap dispenser in oil rubbed bronze gives you the same integrated convenience with a deeper tone. Either way you get a dispenser engineered to match the faucet’s flow and finish, not an afterthought bolted into a spare hole.
Quick buying checklist for a replacement dispenser or set
- Neck/thread compatibility — match your sink’s existing accessory hole (1 to 1-3/8 inch is standard).
- Reservoir capacity — bigger bottles (12–16 oz) mean fewer refills and less air-locking.
- Pump material — solid brass or stainless internals outlast all-plastic pumps.
- Finish match — brushed nickel, matte black, chrome, gold, or bronze to match the faucet.
- Warranty — look for a finish and mechanism warranty, ideally lifetime on the finish.
FAQ
Why does my soap dispenser work sometimes but not others?
Intermittent operation almost always means a partial clog or an under-filled reservoir. When the soap level drops, the pump occasionally catches air; when dried soap narrows the tube, some presses push through and others don’t. Flush it with hot water and keep the reservoir topped up, and the inconsistency usually disappears.
Can I fix a soap dispenser that pumps but no soap comes out?
Yes — this is the classic clogged-tube or lost-prime problem, and it’s fixable in minutes without tools. Refill the reservoir, prime with 15–20 firm pumps, and if that fails, run hot water (with a splash of vinegar) through it to dissolve hardened soap in the tube and nozzle. Only if the pump feels springless and won’t build pressure do you need a new pump head.
How do I get air out of my sink soap dispenser?
Fill the reservoir until the pickup tube is fully submerged, then press the pump head fully and repeatedly — 15 to 20 times. Each press pulls liquid up and expels air, rebuilding the vacuum the pump needs. If it still spits air after 20 pumps, check that the pickup tube is still attached and long enough to reach the soap at the bottom of the bottle.
Why is my soap dispenser leaking underneath the sink?
A dispenser leaking below the deck usually has a cracked reservoir bottle, a loose bottle-to-pump connection, or a failed pump seal. Unscrew and inspect the bottle for hairline cracks, make sure it’s threaded on straight and snug, and replace the pump head if the seal is worn. A leak at the mounting shank instead means the mounting nut needs tightening or the gasket needs replacing.
Are replacement soap dispenser pumps universal?
Mostly yes. Most built-in sink dispensers use a common threaded neck, so a universal replacement pump head will fit the majority of units regardless of brand. Before buying, measure the neck diameter and confirm whether it’s screw-on or twist-lock. For a guaranteed match — and matched finish — buy the pump from the same brand as your dispenser or faucet.
How long should a sink soap dispenser last?
A quality built-in dispenser with brass or stainless internals should last 8–10 years or more; cheap all-plastic pumps often fail within 1–2 years. Using properly diluted soap and flushing it occasionally with warm water dramatically extends its life by preventing the clogs and spring fatigue that kill most pumps early.
The bottom line
A sink soap dispenser not working is one of the most over-diagnosed problems in the kitchen — people replace the whole thing when a 30-second prime, a hot-water flush, or an $8 pump head would have fixed it. Work through the checks in order: bottle level, prime, clog, then pump head. Use thin or diluted soap to keep it from happening again. And if the body itself is cracked or you just want a dispenser that matches your faucet and comes with a real warranty, a coordinated set is the upgrade that ends the cycle of repairs for good.
Author note: This guide was written by the Arcora fixtures team, drawing on hands-on installation and repair of kitchen and bathroom soap dispensers across hundreds of sink setups. Arcora designs and tests faucets, sinks, and accessories to standard North American deck-hole and thread specifications, and backs its finishes and mechanisms with a warranty so a replacement pump or dispenser fits and lasts. As always, if your sink is under an active manufacturer warranty, check the coverage terms before replacing parts yourself.