 ARCORA FAUCETS
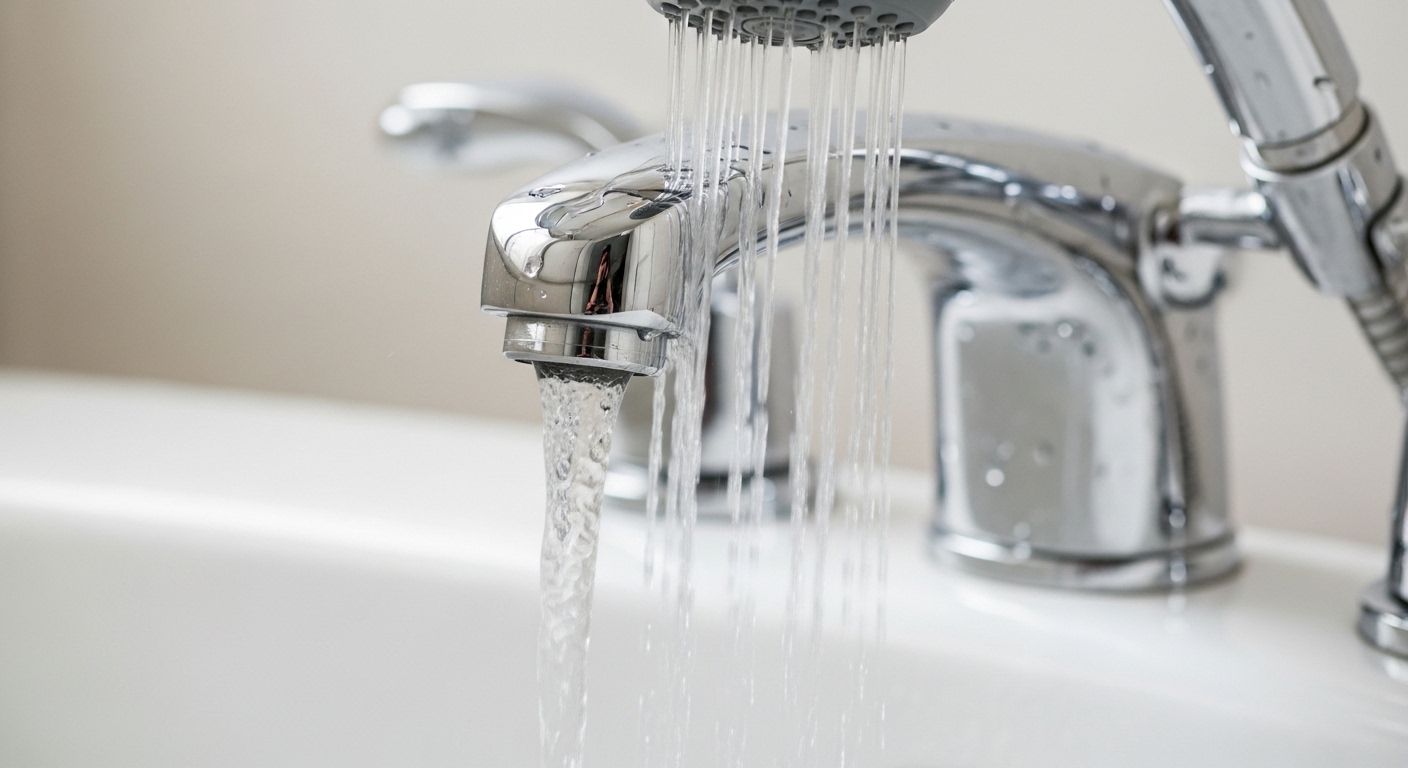
If you’ve got a tub spout leaking when shower is on, you’re looking at a diverter problem — full stop. That constant trickle or stream out of the tub spout while you’re trying to shower isn’t your imagination, and it isn’t harmless: it’s wasting hot water, weakening your shower pressure, and telling you a rubber seal or worn valve has given up. The good news is that this is one of the most DIY-friendly plumbing fixes there is, and you rarely need a plumber to sort it out.
Below I’ll walk you through exactly why it happens, how to tell which type of diverter you have, what to replace, and how to pick a spout that won’t do this again. I’ve repaired and specified hundreds of tub-and-shower combos, so this is the practical version — no fluff, just what actually stops the leak.
Why is water coming out of my tub spout when the shower is running?
Water comes out of your tub spout during a shower because the diverter — the little gate that’s supposed to block the tub outlet and force water upward — is no longer sealing completely. When it seals well, nearly 100% of the flow goes to the showerhead. When the seal is worn, cracked, or clogged with mineral scale, some water leaks back down and out the spout.
There are two common diverter styles, and knowing which you have decides your whole repair:
- Pull-up diverter spout: You lift a little knob on top of the spout to send water up. The diverter mechanism lives inside the spout itself. When these fail, you replace the entire spout — you don’t repair the internal gate.
- Wall-mounted diverter valve (3-valve setup): A separate handle or center knob between your hot and cold handles diverts the water. Here the spout is “dumb” and the diverter is a cartridge/stem in the wall that you rebuild or replace.
A tiny bit of residual drip for a second or two right after you pull the diverter up is normal — that’s just water already in the spout draining out. A steady stream that keeps running the whole shower is not normal, and that’s the leak we’re fixing.
What actually causes a tub spout diverter to fail?
The short answer: worn rubber, mineral buildup, or water pressure that’s too low to hold the diverter shut. These are the usual suspects, in rough order of how often I see them:
| Cause | What’s happening | Typical fix | Cost range |
|---|---|---|---|
| Worn diverter seal / gate | The rubber washer or plastic gate inside the spout has hardened or torn and no longer blocks flow | Replace the tub spout (pull-up type) | $12–$45 |
| Mineral / limescale buildup | Hard-water scale holds the diverter partly open | Descale or replace spout | $0–$45 |
| Failed wall diverter cartridge | The stem/cartridge in a 3-valve setup won’t seat | Rebuild or replace diverter valve | $8–$60 |
| Low water pressure | Not enough force to lift and hold the gate closed | Clean showerhead/aerator; address supply pressure | $0–$25 |
| Cracked spout body | Interior crack lets water bypass the diverter | Replace the tub spout | $12–$45 |
Hard water is the quiet killer here. If your home runs mineral-heavy water, scale forms on every rubber and plastic surface it touches, and the diverter gate is a prime target. That same buildup is why your showerhead sputters and your aerators clog — it’s the same root cause showing up in different fixtures. If you’re chasing weak or dropping pressure alongside the leak, it’s worth reading why tap low water pressure suddenly gets worse, because low pressure and a failing diverter often feed each other.
How do I fix a tub spout leaking when shower is on myself?
For the most common pull-up diverter spout, you fix it by unscrewing the old spout and threading on a new one — no special plumbing skills required, and you don’t even shut off your main water for this. Here’s the full process.
Step 1: Identify how your spout attaches
Look underneath the spout near the wall. If you see a small setscrew (usually needing a 3/32″ or 1/8″ hex/Allen key), you have a slip-fit spout that clamps onto a copper pipe. No setscrew means you have a threaded spout that screws onto a nipple. This one detail changes which replacement you buy, so don’t skip it.
Step 2: Remove the old spout
- Threaded spout: Turn it counterclockwise by hand. If it’s stuck, insert a large screwdriver or the handle of a hammer into the spout opening for leverage and turn gently.
- Slip-fit spout: Loosen the setscrew with your hex key, then pull the spout straight off the pipe.
Step 3: Measure before you buy
This is where most people go wrong — they buy a random spout and it won’t seat right. Measure the length of your existing spout and the distance the pipe sticks out of the wall. Getting an exact tub spout measurement before you buy a replacement saves you a second trip and a leak behind the wall. Match threaded-to-threaded or slip-to-slip.
Step 4: Install the new spout
- Wrap the pipe threads with 2–3 turns of plumber’s (PTFE) tape, clockwise, for a threaded spout.
- Thread or slide the new spout on. Threaded spouts should end snug and pointing straight down; hand-tight plus a slight nudge is usually enough — don’t overtighten and crack it.
- For slip-fit, seat it fully against the wall and tighten the setscrew onto the pipe. Make sure the rubber O-ring inside is seated so it seals against the copper.
Step 5: Test
Run the water, pull the diverter up, and watch the spout. A clean install means the showerhead gets full pressure and the spout stays dry. If you still get a trickle and you replaced a pull-up spout, the problem is upstream in a wall diverter — see the next section.
If your leak is actually the tub faucet handles dripping rather than the diverter, that’s a different repair — our guide on how to fix a leaking bathtub faucet quick and easy covers cartridge and washer swaps. And if your spout is also sitting bent or crooked, replacing it kills two problems at once.
Should I repair or just replace the tub spout?
For pull-up diverter spouts, replace — don’t repair. The diverter gate is sealed inside a non-serviceable spout, so “repairing” it means buying rebuild parts that often cost as much as a whole new spout and take longer to fit. A new spout is $12–$45, installs in 15 minutes, and resets the seal to factory-new.
For a wall-mounted 3-valve diverter, repair is more reasonable because the cartridge/stem is a replaceable part designed to be serviced. Here’s how I’d decide:
| Your situation | Best move | Why |
|---|---|---|
| Pull-up diverter spout, leaking | Replace the whole spout | Gate isn’t serviceable; new spout is cheap and fast |
| 3-valve wall diverter, leaking | Rebuild/replace the diverter stem | Designed to be serviced; spout is fine |
| Spout also corroded or bent | Replace spout regardless | Cosmetic + functional fix in one |
| Leak only when water’s OFF | Different problem — check the valve | That’s a cartridge issue, not a diverter |
Quick but important distinction: this article is about a leak while the shower runs. If your spout drips when everything is turned off, that points at the mixing valve, not the diverter — we cover that specific scenario in tub spout leaking hot water when water is off. Same-looking symptom, completely different fix.
What should I look for in a replacement tub spout that won’t leak again?
Buy a solid-brass spout with a well-made diverter and the correct connection type for your plumbing — that combination is what keeps you from repeating this repair in two years. Cheap zinc or thin-wall spouts are exactly the ones that fail early, because their internal gates warp and their bodies corrode.
Here’s my checklist when picking a replacement:
- Material: Solid brass beats zinc alloy for longevity. Brass resists corrosion and holds threads better. If you want to know how to tell what you’re actually buying, our piece on whether a brass faucet is real brass applies directly to spouts too.
- Connection type: Match your existing setup — threaded (screws onto a nipple) or slip-fit (clamps onto copper with a setscrew). Buying the wrong style is the #1 install failure.
- Diverter quality: Look for a firm, smooth-lifting knob and a spec sheet that mentions the diverter is tested for a rated number of cycles. Loose, wobbly knobs on the shelf feel loose in your bathroom too.
- Finish: Chrome and brushed nickel are the most forgiving in hard-water areas because scale wipes off easily. Match your existing shower trim.
- Warranty: A real manufacturer warranty (5 years or better) signals the diverter is built to last, not to fail just past the return window.
One practical tip for hard-water homes: whatever spout you choose, plan to descale it and your showerhead a couple times a year. The same scale that clogged the last diverter will attack the new one, and a 20-minute vinegar soak keeps everything moving. If you’re not sure whether your water is the culprit, checking your faucet aerator mesh for chalky white buildup is a fast, free tell — if it’s crusty, your diverter is fighting the same enemy.
How much does it cost to fix a leaking tub spout diverter?
DIY, you’re looking at $12–$45 for a replacement spout or $8–$25 for a wall diverter cartridge — call it under $50 total including tape. If you hire a plumber, expect $100–$250 depending on your area and whether it’s a simple spout swap or a wall-valve job.
Given that a spout swap is genuinely a 15-minute job with two tools, this is one of the highest-value DIY plumbing fixes you can do. The math strongly favors doing it yourself unless the diverter is buried in a wall valve you’re not comfortable opening. And remember the ongoing cost of not fixing it: a tub spout leaking when shower is on can waste several gallons of heated water per shower, which quietly adds up on your utility bill month after month.
FAQ
Is a little water dripping from the tub spout during a shower normal?
A brief dribble for one or two seconds right after you engage the diverter is normal — that’s just water draining out of the spout. A continuous stream or steady trickle the entire time the shower runs is not normal and means the diverter seal has failed. If you can hold your hand under the spout mid-shower and feel real flow, it’s time to replace.
Can low water pressure cause my tub spout to leak during a shower?
Yes. Many pull-up diverters rely on water pressure to lift and hold the gate shut. If your pressure is low — often from a clogged showerhead or scaled-up supply lines — there isn’t enough force to fully seal the diverter, so water leaks back out the spout. Cleaning the showerhead and restoring pressure sometimes fixes the “leak” without touching the spout at all.
Do I need to shut off my water main to replace a tub spout?
For a standard pull-up or threaded/slip-fit spout replacement, no — the spout is downstream of the valve, so you just leave the tub controls off and swap the spout. You only need to shut off the water main if you’re servicing a wall-mounted diverter valve or the mixing cartridge behind the wall.
How do I know if I have a slip-fit or threaded tub spout?
Look underneath the spout near the wall. A small setscrew (needing a hex/Allen key) means slip-fit — it clamps onto copper pipe. No setscrew means threaded — it screws onto a pipe nipple. Always match your replacement to the same type, and measure the length before buying so it seats flush against the wall.
Why is my tub spout leaking when the shower is on even after I replaced the spout?
If you swapped a pull-up diverter spout and it still leaks, the diverter isn’t in the spout — you have a separate wall-mounted diverter valve that’s failing. In a 3-valve setup, the center handle controls a cartridge or stem in the wall that needs rebuilding or replacing. A new spout can’t fix a leak whose source is the wall valve.
How long should a tub spout diverter last?
A good solid-brass spout with a quality diverter typically lasts 7–10 years or more; a cheap zinc one can fail in 2–3, especially in hard-water homes. Regular descaling extends the life significantly. If you’re on your second or third failure in a few years, it’s a sign the spout quality — or your water hardness — is the real issue to address.
Author note: This guide was written by the Arcora product team based on hands-on testing of tub-and-shower diverter assemblies and years of fielding real customer repair questions. About Arcora: arcorafaucet is a dedicated faucet and bathroom-fixture brand engineering spouts, showers, and valves built to hold up in everyday use. Our tub spouts are pressure- and cycle-tested and use solid-brass construction where it counts, and they’re backed by a manufacturer warranty so a failed diverter is covered, not your problem. Always follow your local plumbing codes and the fixture’s installation instructions when replacing any component.